Bright work
83 degrees, sunny, and beautiful..... A perfect day for bright work!

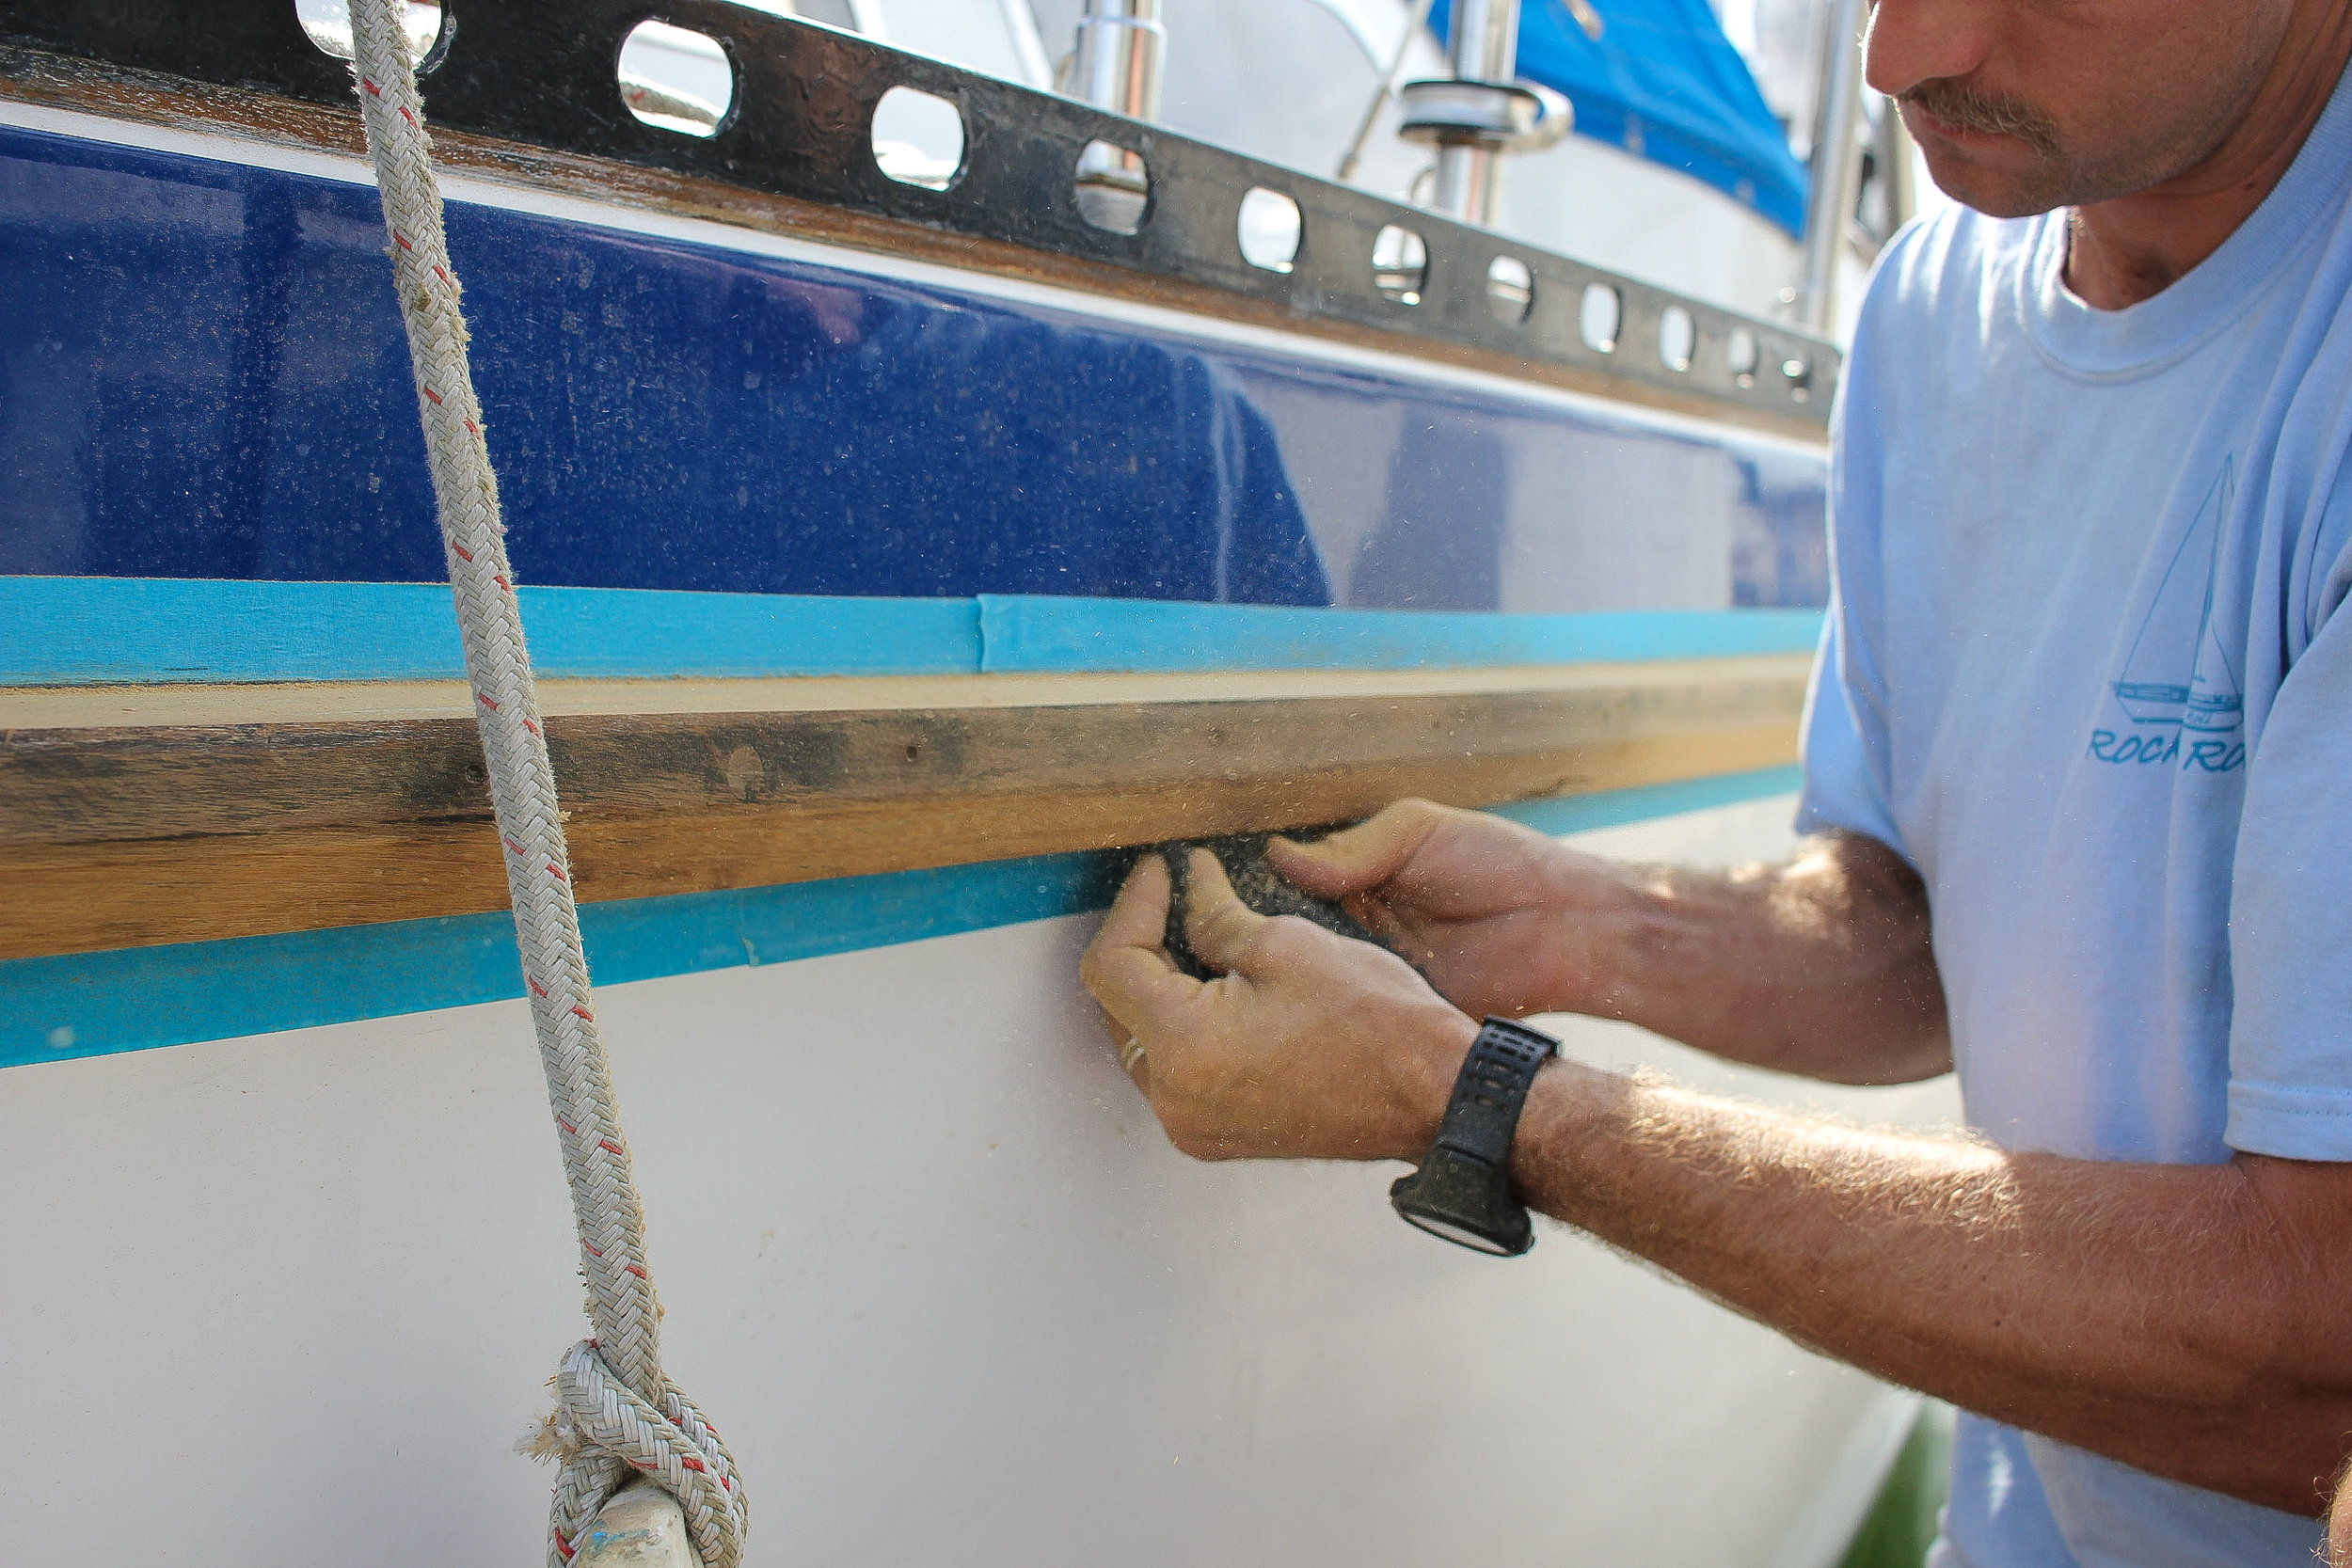
I have to admit, I thought that doing the rub rails was going to be a lot faster and easier than it turned out to be. Just like every other boat project.... But, it was a beautiful day with no wind and no surf, so why not? We started by taking the three sections of bronze off the teak rail (even though Rachel said we shouldn't). I definitely underestimated the weight of these caps, and how much work it would be to put them back on. We will definitely leave the rail on the starboard side when we get around to working on it.

Rub Rail after the cap had been removed.

The rub rail after removing the old varnish and taped for sanding.
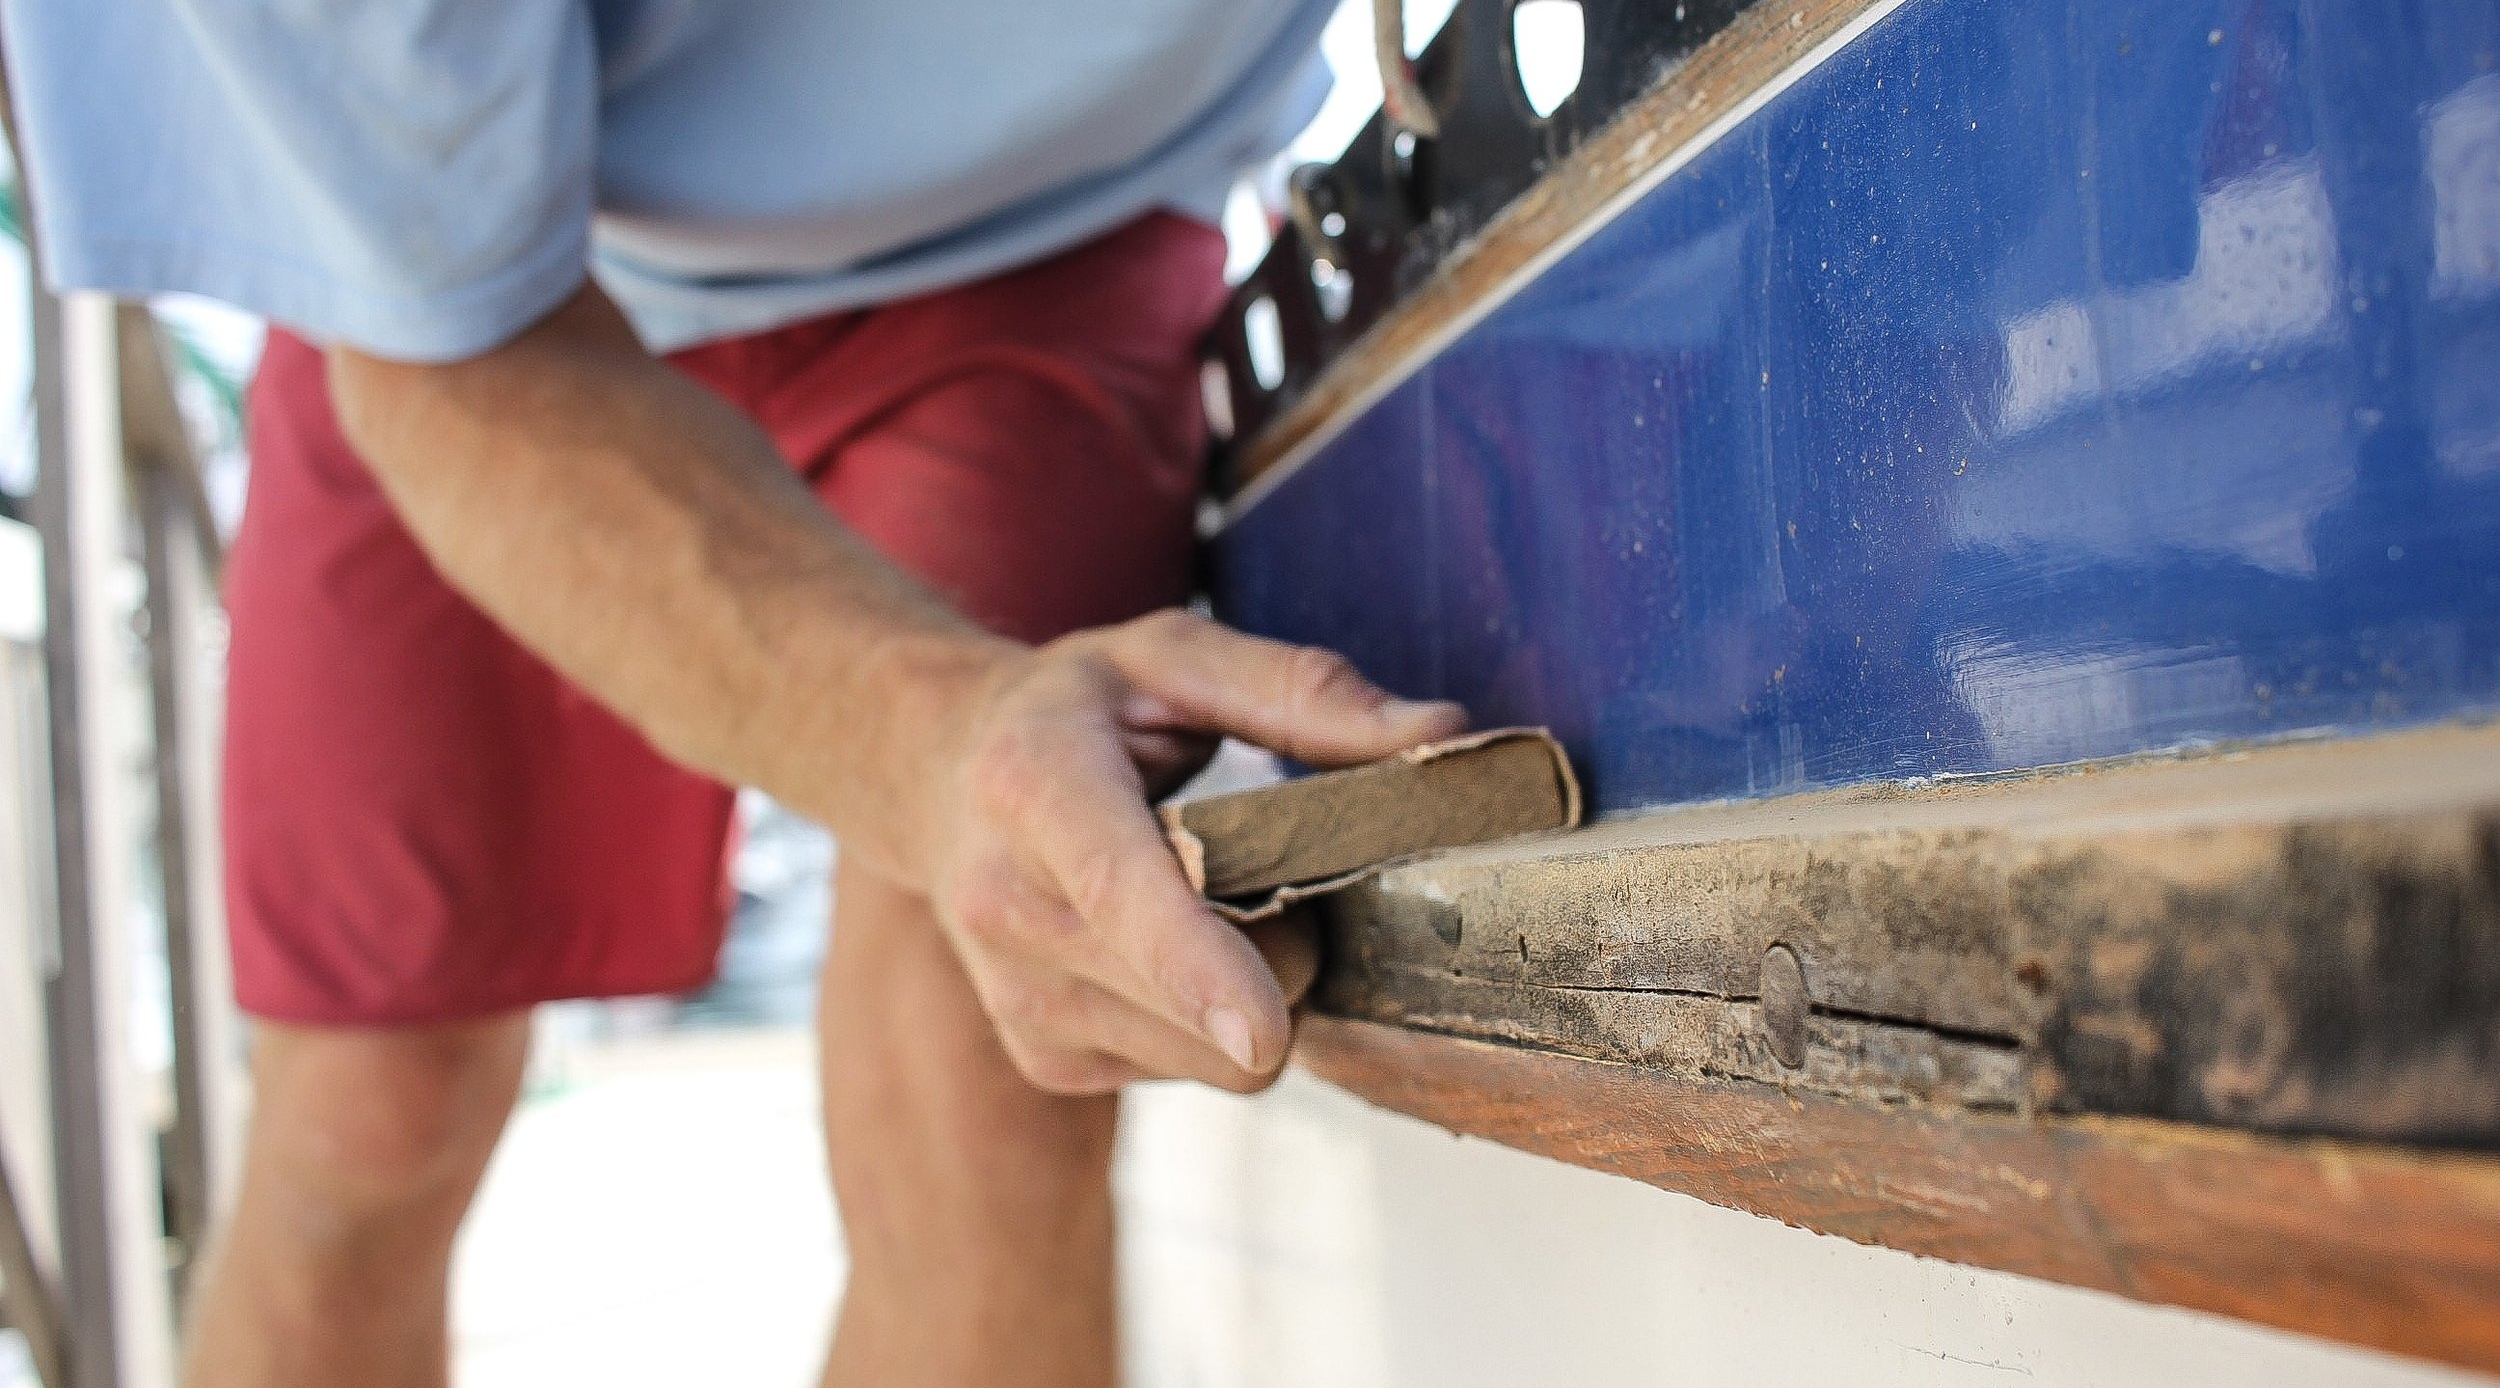
We used a heat gun and a scraper to break up the adhesion from the old varnish and strip the teak. Then we sanded, sanded, and sanded some more. I'm not quite sure why I prefer to sand everything by hand, probably partly my masochistic tendencies or the fear of taking off too much of the teak. Anyways, we started with 80 grit sandpaper and progressed to 220 grit for our final pass over the rail.

Let the sanding begin!

The rub rail ready to cetol.
During the early stages of the project, I'd been having an internal battle between using "real varnish" or Cetol. We love the way varnish looks, but.... it's a lot more work and lasts half as long as Cetol. We had heard great things about Cetol and looked at a couple of boats that have used it. It looked great and the product has come a long way from the milky orange Cetol that I remembered. So, I swallowed my "yachty pride" and decided to go with the Cetol. I'm hoping it will be a lower maintenance solution so Rachel and I can enjoy the warm beaches and waters of distant shores and not be chained to a dock dripping sweat into our varnish.

Recapping the rail.
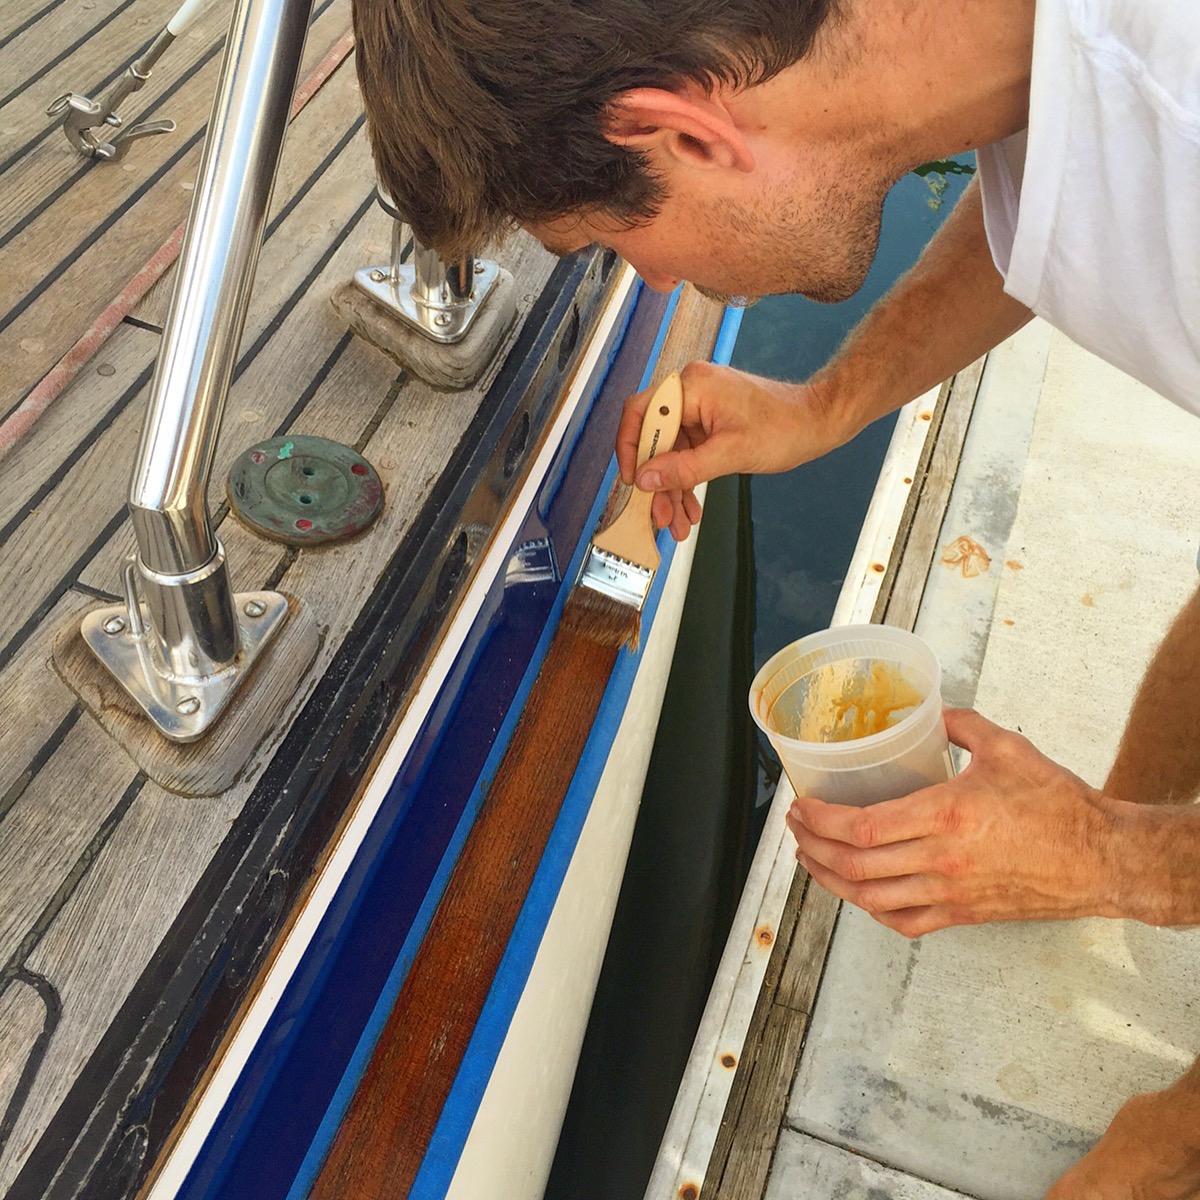
Applying the first coat of cetol.
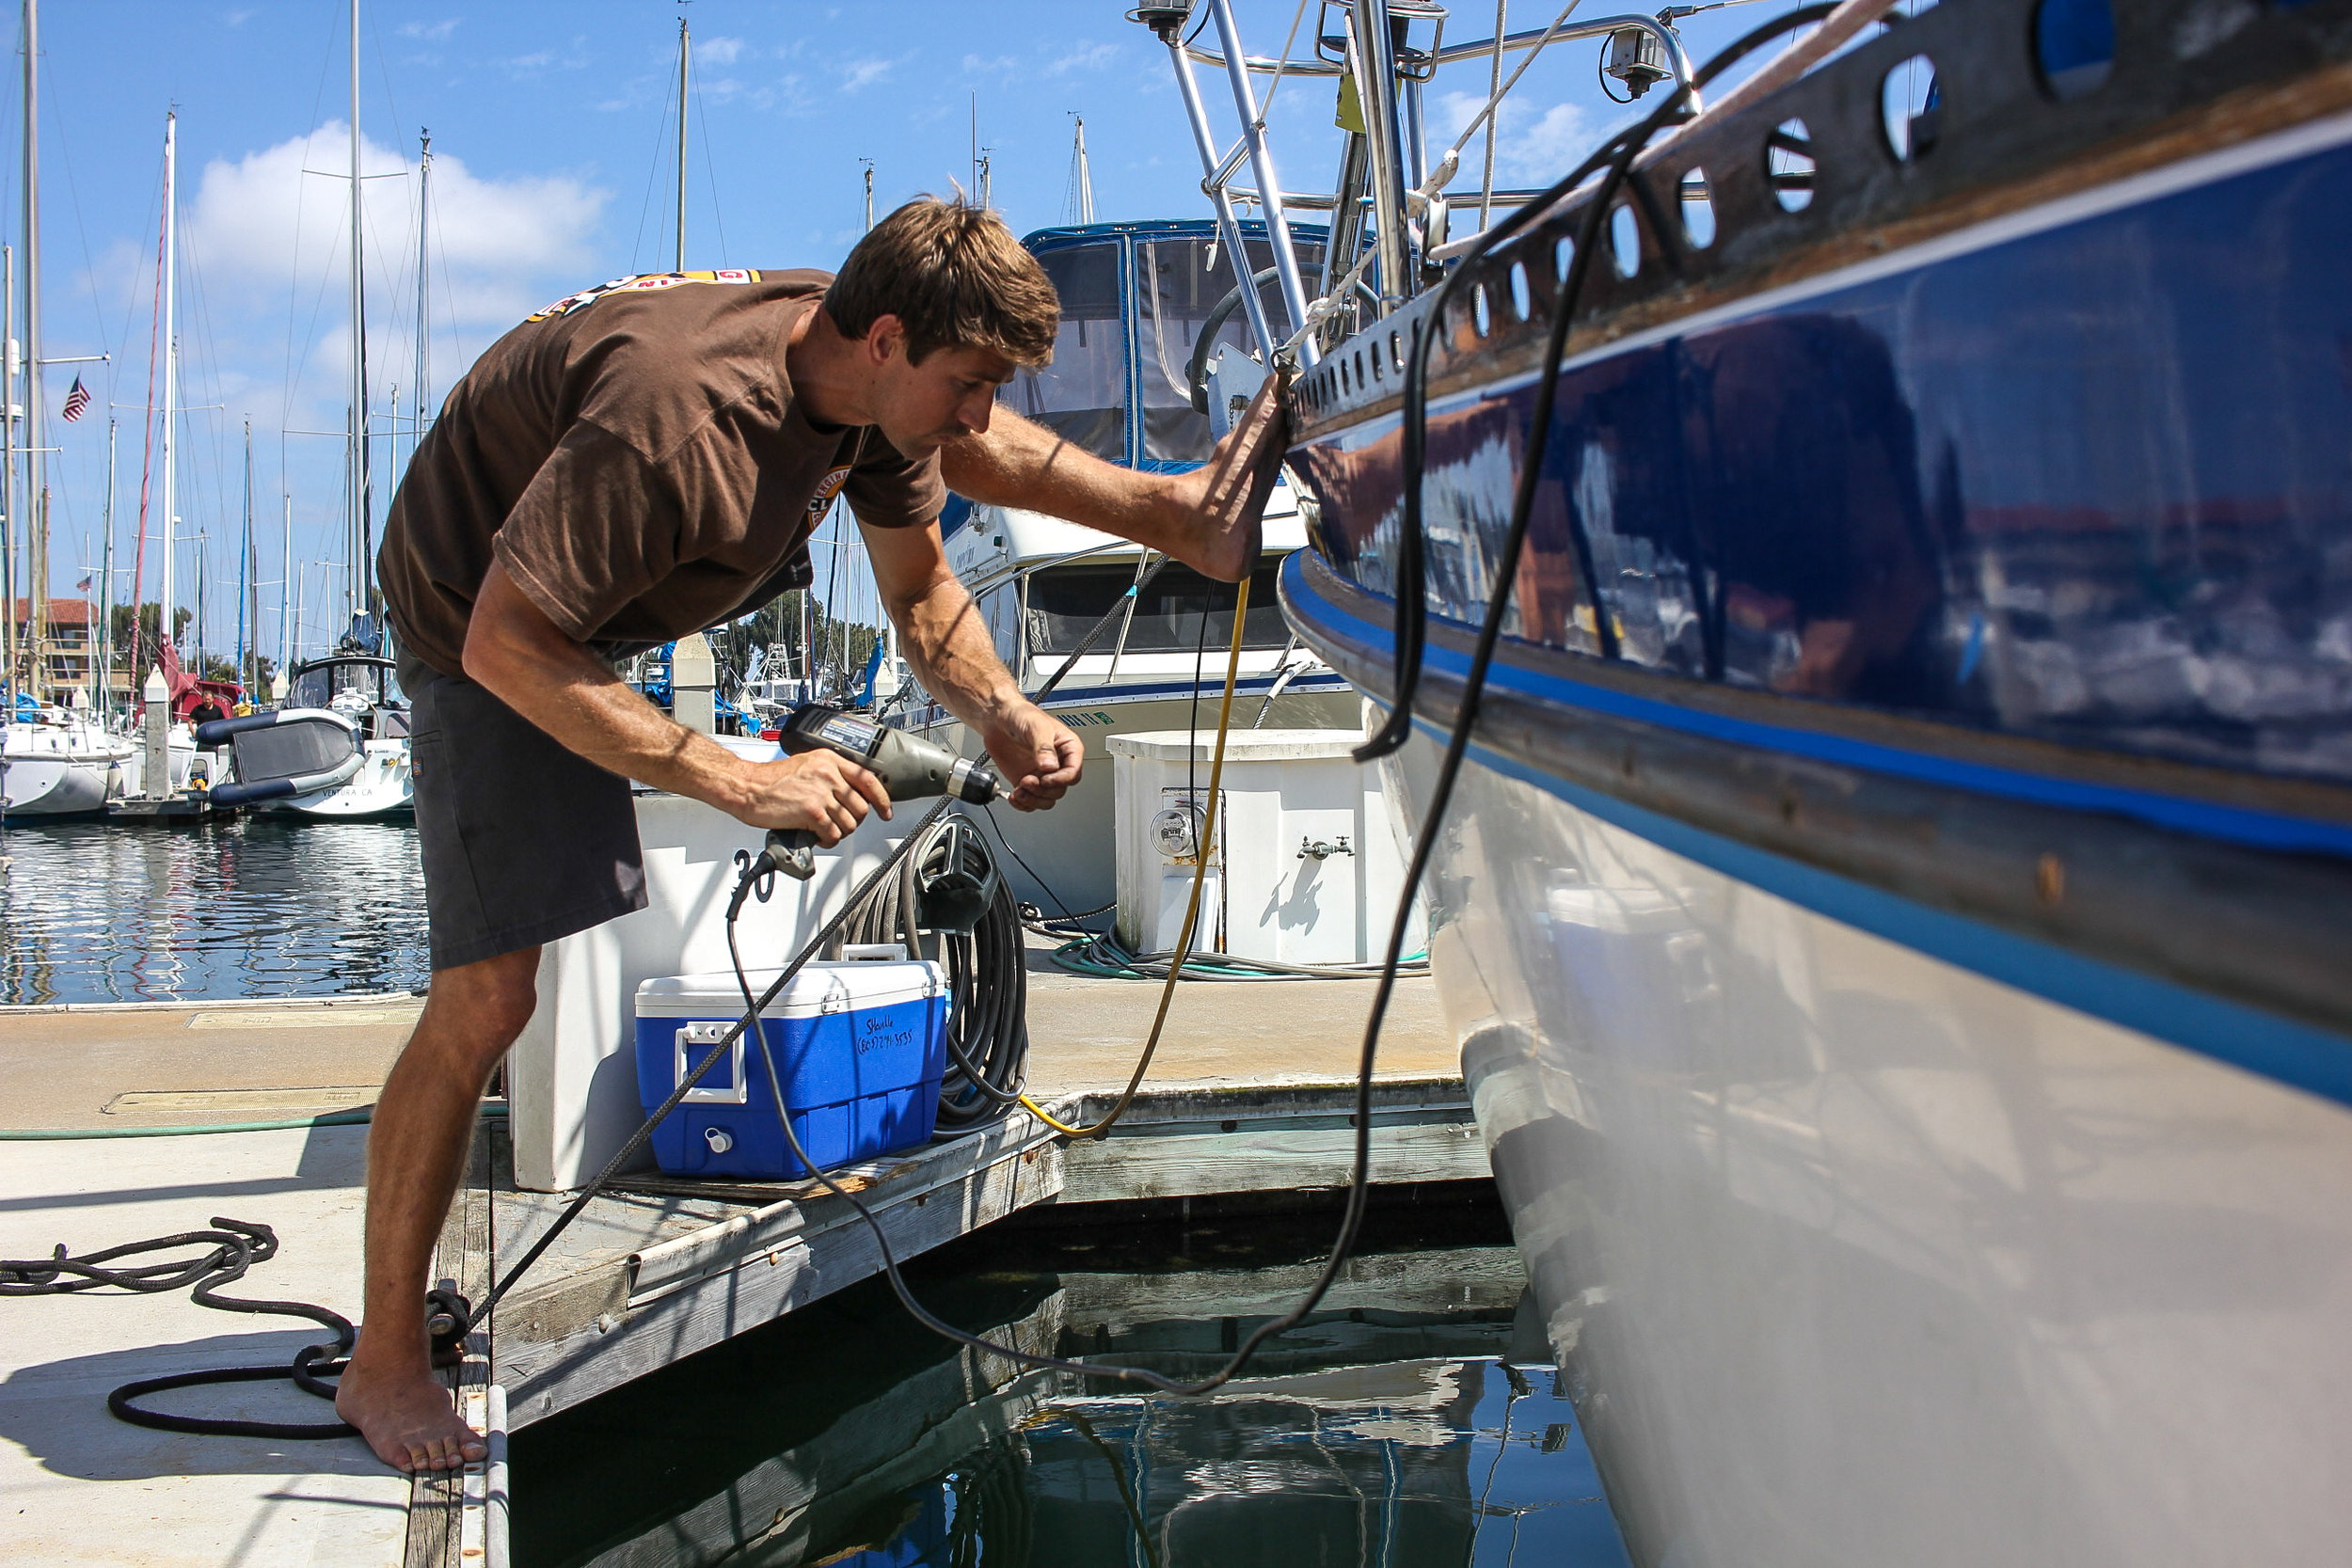
One of the many boat yoga poses.

After all the sanding and masking was finished, we wiped down the rail with Special thinner 216 and began celtoling. We decided to do four coats of Cetol Marine Natural Teak and two coats of clear sealant. The problem with using Cetol is that you need at least 24 hours of dry time between coats, so six days and six coats later, we were ready to peel back the tape and see the final product of all our hard work.

Shiny and bright! The rub rail is finally finished!